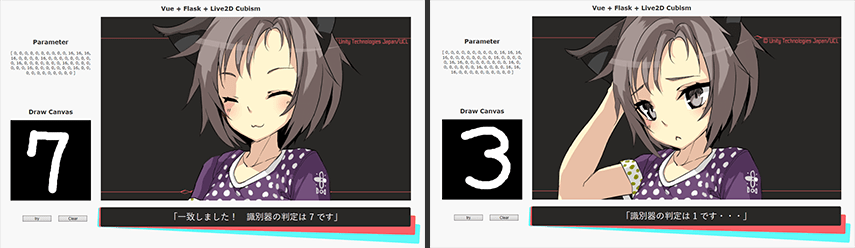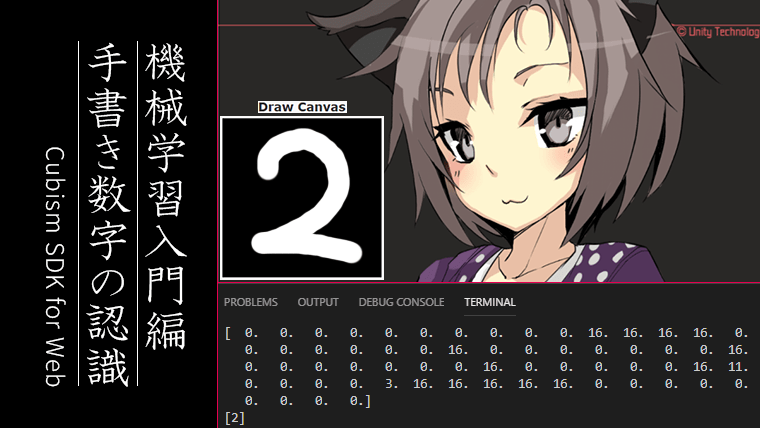
今回はVue.jsとFlaskで手書き数字の認識を行って、結果の出力に合わせてCubismWeb(Live2D Cubism3SDK for Web)のモデルを動かしてみます。
アプリケーションのおおまかな動作
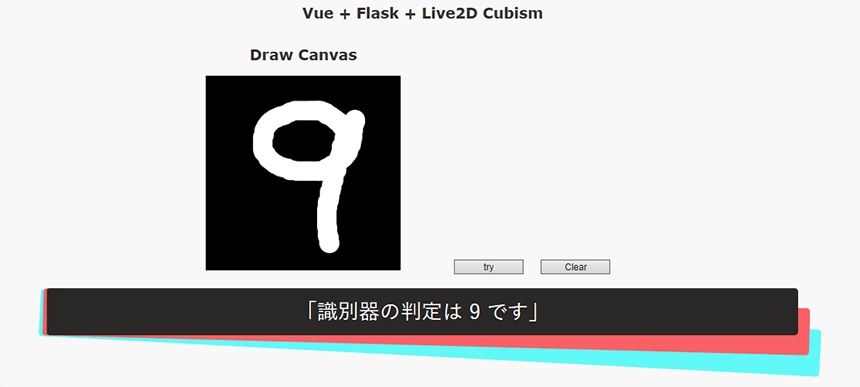
1. Vueのキャンバスにマウスで好きな数字を書く
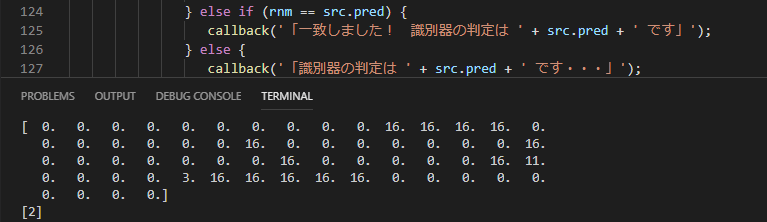
2. キャンバスの内容を8×8に縮小して識別器に渡す
3. 識別器の判定結果をVueに返す
4. 判定結果を表示してCubismWebのモデルを更新する
5. ランダムで選ばれた数字(0~9)をキャンバスに書くことを依頼する
6. 依頼した数字と識別器の判定結果に応じてCubismWebのモデルを更新する
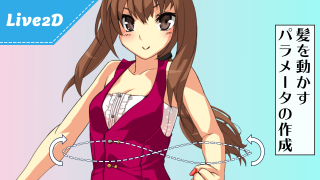
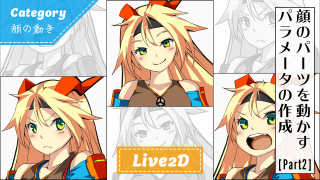
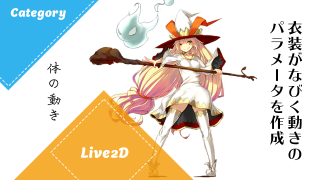
使用するイラスト
CubismWebで表示するモデルです。
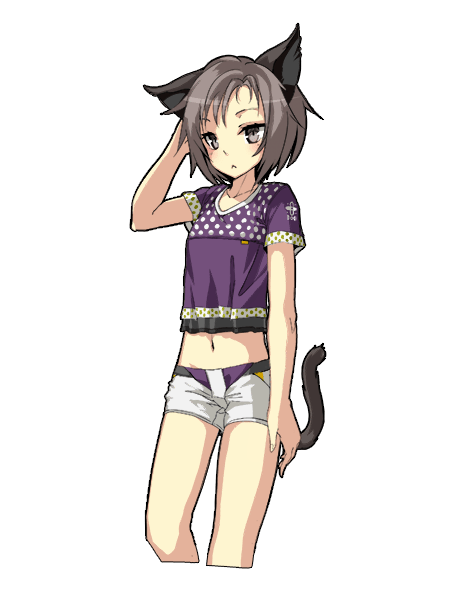
© Unity Technologies Japan/UCL
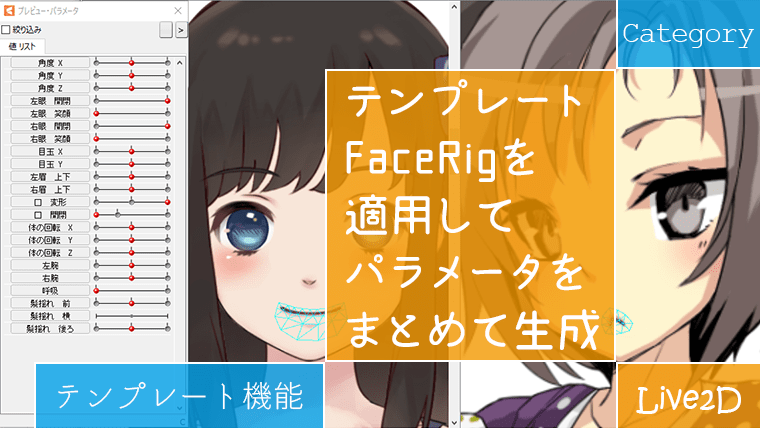
上記モデルには以前の記事で Live2D のテンプレート「FaceRig」を適用しています。
テンプレートを適用する手順についてはこちらで紹介しています。
動作確認サンプル
ChromeとEdgeで動作を確認しています。(下のサンプルはEdge)
Live2Dモデルで手書き数字の認識
Vue.jsとFlaskで認識した数字を、Live2Dモデル(CubismWeb)に渡すまでの過程を紹介します。
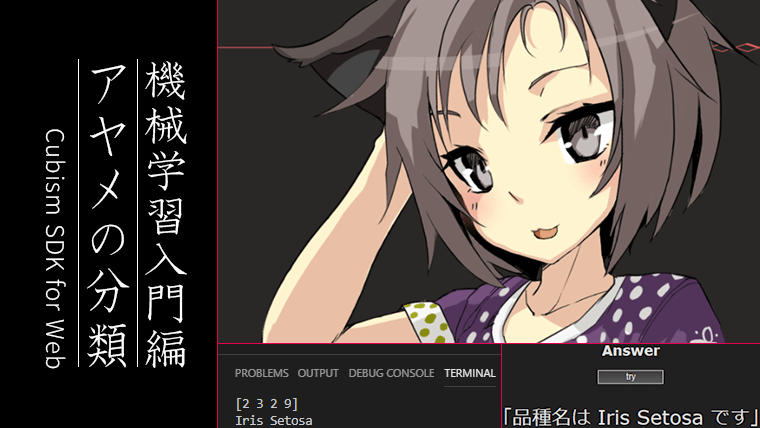
1. scikit-learnで手書き数字を学習させる
機械学習のライブラリ「scikit-learn」にはサンプルとしてデータセットが用意されているので、今回はその中から手書き数字の光学認識を学習させます。
前回記事「アヤメの分類」と同様にpickleファイルを識別器で使用します。
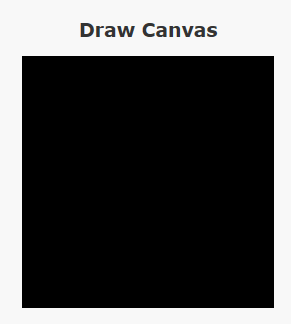
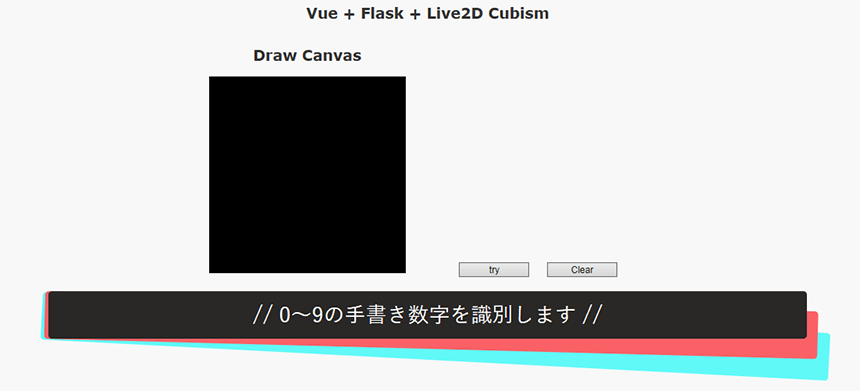
2. キャンバスを配置する
マウスで数字を書くためのキャンバスを配置します。
<div id="canvas_container">
  <h2>Draw Canvas</h2>
  <canvas id="draw_canvas" width="280" height="280" @mousemove="drag_draw"></canvas>
</div>
3. メッセージを表示するエリアとボタンの設置
判定結果などを表示するメッセージウィンドウを設置します。
<div id="message_window">
  <p id="mes">[[ message ]]</p>
</div>
キャンバスの値(0,255)を識別器に送るボタンと、キャンバスをリセットするボタンを設置します。
<div id="answer">
  <button @click="getAnswer" id="btn">try</button>
  <button @click="clear">Clear</button>
</div>
4. キャンバス関連の処理を記述する
scikit-learnのサンプル(手書き数字)が8×8で書かれているので、それに合わせてキャンバスの内容も8×8に縮小して識別器に渡します。
識別器の精度を上げたい場合はMNISTなど別のデータセットで学習させた方が良さそうです。
<script>
const ans = new Vue({
  el: "#exa",
  delimiters: ["[[", "]]"],
  data: {
    message: '// 0~9の手書き数字を識別します //',
  },
  methods: {
    update_message: function(str) {
      this.message = str;
    },
    clear: function() {
      const canvas = document.getElementById('draw_canvas');
      const ctx = canvas.getContext('2d');
      ctx.fillStyle = 'black';
      ctx.fillRect(0, 0, canvas.width, canvas.height);
    },
    drag_draw: function(e) {
      if(!e.buttons) return;

      const rect = e.target.getBoundingClientRect();
      const x = e.clientX - rect.left;
      const y = e.clientY - rect.top;
      this.draw(x, y);
    },
    draw: function(mx, my) {
      const canvas = document.getElementById('draw_canvas');
      const x = mx / canvas.clientWidth * canvas.width;
      const y = my / canvas.clientHeight * canvas.height;
      if (x < 0 || y < 0 || canvas.width < x || canvas.height < y) return;
      const ctx = canvas.getContext('2d');
      const r = 40 / 100.0 * (canvas.width / 8);    //線の太さ40
      ctx.beginPath();
      ctx.fillStyle = 'white';
      ctx.arc(x, y, r, 0, Math.PI * 2, true);
      ctx.fill();
    },
    getAnswer:function() {
      const inputWidth = inputHeight = 8;
      const canvas = document.getElementById('draw_canvas')
      const ctx = canvas.getContext('2d');
      ctx.drawImage(canvas,0,0,inputWidth,inputHeight);  //8×8にリサイズ
      const img = ctx.getImageData(0,0,inputWidth,inputHeight).data;
      //ネガポジ変換
      for(let i = 0 ; i < img.length ; i+=4) {
        img[i]   = 255 - img[i];    //R
        img[i+1] = 255 - img[i+1];  //G
        img[i+2] = 255 - img[i+2];  //B
        img[i+3] = img[i+3];        //A
      }
      const src = [];
      for(let i = 0 ; i < img.length ; i+=4) {  //値を格納[255, 255, 0, 0, ...]
        src.push(Math.floor((img[i] + img[i+1] + img[i+2]) / 3.0));
      }
      ctx.fillStyle = 'black';
      ctx.fillRect(0,0,inputWidth,inputHeight);
      callback = this.update_message;
      fetch('http://localhost:5000/numPred', {
        method: 'POST',
        headers: {
          'Content-Type': 'application/json',
        },
        body: JSON.stringify(src),    //キャンバスの値を識別器に送る
      }).then(function(res){
        return res.json();
      }).then(function(src) {
        callback('・・・');
        const count = 0;
        const countup1 = function() {
          if (typeof rnm === 'undefined') {    //初回はランダムな数字を生成していないため
            callback('「識別器の判定は ' + src.pred + ' です」');
          } else if (rnm == src.pred) {
            callback('「一致しました! 識別器の判定は ' + src.pred + ' です」');
          } else {
            callback('「識別器の判定は ' + src.pred + ' です・・・」');
          }
        }
        setTimeout(countup1, 800);
        const countup2 = function() {
          const update_num = function(max) {
            rnm = Math.floor(Math.random() * Math.floor(max));
            return rnm;
          }
          rnm = update_num(10);    //0~9でランダムな数字を生成
          callback('// Canvasに数字の '+ rnm +' を書いてください //');
        }
        setTimeout(countup2, 7000);
      }).catch(function(error) {
        console.log(error)
    })
  }}
})
</script>
5. 識別器で数字を判定する
1.で作ったpickleファイルで数字の判定を行います。
def predictNum(params):
    from sklearn.externals import joblib
    forest = joblib.load('./trained-model/digit-clf.pkl')
    pred = forest.predict([params])
    return pred
Vueから送られてきたキャンバスの値を整えて判定を行います。
@app.route('/numPred', methods = ['GET', 'POST'])
def numPred():
    src = request.json
    params = np.asarray(src, dtype = float)
    params = np.floor(16 -16 * (params / 255))
    if request.method == 'POST':
        # 上記の判定を行って、結果をVueに返す
        pred = predictNum(params)
        return make_response(jsonify({
            'pred': pred.tolist()
        }))
    elif request.method == 'GET':
        return render_template('numPred.html')
6. CubismWebの画面を表示する
前回記事(アヤメの分類)と同じ手順でCubismWebの画面を設置します。

7. 識別器の判定結果に合わせてCubismWebのモデルを更新する
メッセージウィンドウに出力されるテキストを利用して、条件を分岐させることにしました。
window.onload = () => {
  let isCor = false;
  let isInc = false;
  let isAns = false;
  const getbtn = document.getElementById("btn");
  getbtn.onclick = () => {
  const count = 0;
  const countup = () => {
    const getmes = document.getElementById("mes");
    if (getmes.textContent.indexOf('一致') != -1) {    //メッセージに「一致」というテキストがあったら
      isCor = true;
    } else if (getmes.textContent.indexOf('です・・・') != -1) {
      isInc = true;
    } else {
      isAns = true;
    }
    this.onUpdate = () => {

    //onUpdateの中身と同じ//

    if (isCor === true) {    //メッセージの内容に応じてモーションを更新する
      for (let i = 0; i < this._models.getSize(); i++) {
        this._models.at(i).startMotion(LAppDefine.MotionGroupAdd, 1, LAppDefine.PriorityNormal);
    }} else if (isInc === true) {
      for (let i = 0; i < this._models.getSize(); i++) {
        this._models.at(i).startMotion(LAppDefine.MotionGroupAdd, 2, LAppDefine.PriorityNormal);
    }} else if (isAns === true) {
      for (let i = 0; i < this._models.getSize(); i++) {
        this._models.at(i).startMotion(LAppDefine.MotionGroupAdd, 0, LAppDefine.PriorityNormal);
    }} else {
      return;
    }
    isCor = false;
    isInc = false;
    isAns = false;
    }
  }
  setTimeout(countup, 1000);    //メッセージが表示されるまで少し時間がかかるので、その分処理を遅らせる
  }
}