今回はVue.jsとFlaskで文章の受け渡しを行って、Chatterbotの返答に合わせてCubismWeb(Live2D Cubism3SDK for Web)のモデルを動かしてみます。
Chatterbotとは
機械学習ベースの簡易的な対話エンジンを作ることができるPythonライブラリ
会話のデータ(コーパス)を用意することで、入力された文章に最も近いデータ(文字列)を検索して応答を生成する
全体の流れ
1. Vueのinput要素にテキストを入力する
2. 入力されたテキストをChatterbotに渡す
3. Chatterbotが生成した返答をVueに返す
4. 返された文章に合わせてCubismWebのモデルを更新する
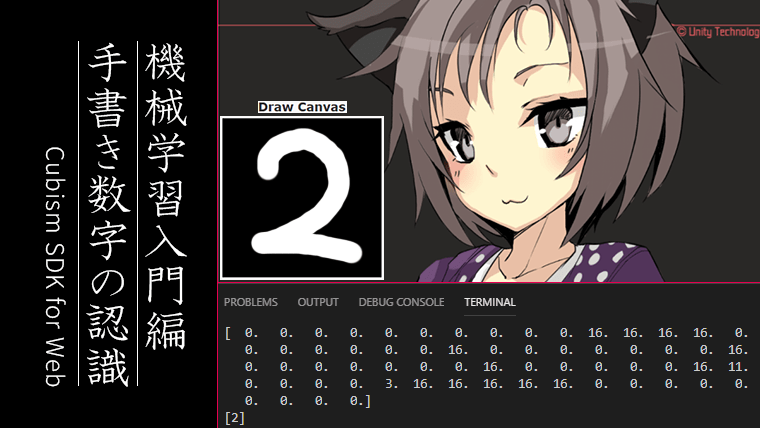
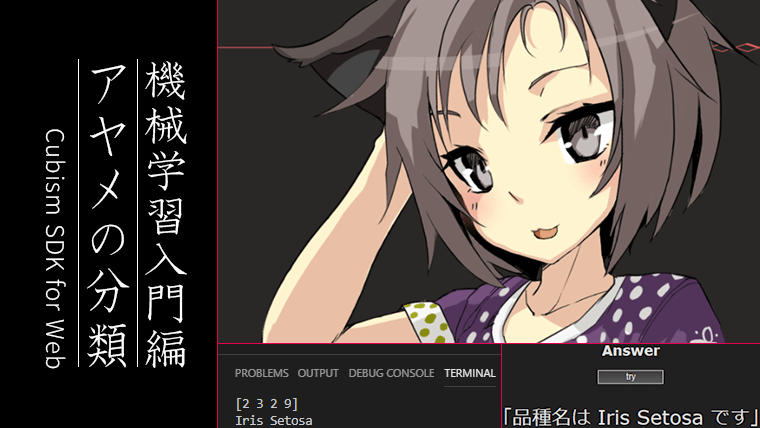
使用するイラスト
CubismWebで表示するモデルです。
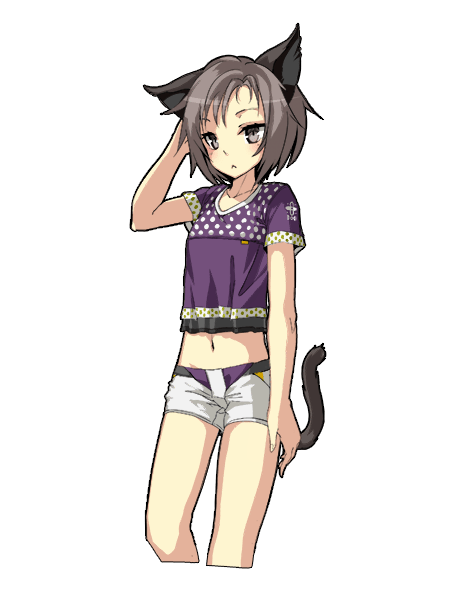
© Unity Technologies Japan/UCL
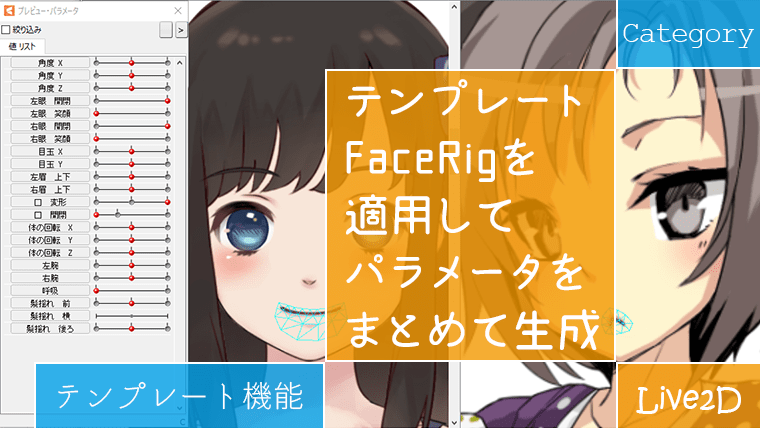
上記モデルには以前の記事で Live2D のテンプレート「FaceRig」を適用しています。
テンプレートを適用する手順についてはこちらで紹介しています。
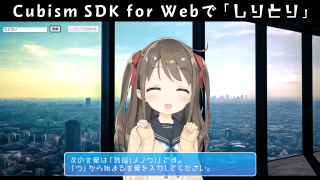
動作確認用のサンプル
ChromeとEdgeで動作を確認しています。
サンプルでは予めchatterbot_corpusに用意した文章で会話を行っています。
対話エンジンのボディとしてのCubismWeb
対話エンジン(Chatterbot)のボディとしてCubismWebのモデルを適用するまでの流れ
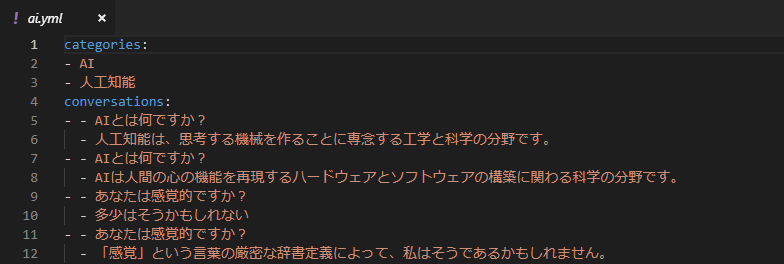
1. コーパスを編集する
まずは会話のトレーニングデータとなるchatterbot_corpusをgithubからダウンロードします。
現在(2019/4/20)の時点では日本語に翻訳されたデータも入っていたので、ある程度はそのまま使えます。
corpus_dataはymlファイルとしてカテゴリごとに用意されているので、簡単に内容を編集できます。
2. chatterbotを動かしてみる
最初にchatterbotをインストールします。
condaでは見つからなかったので、Anaconda環境では避けたほうが良いかもしれないです。
pip install chatterbot
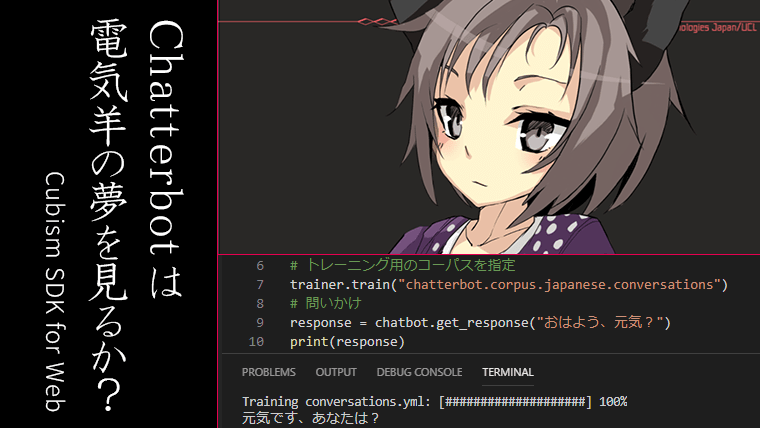
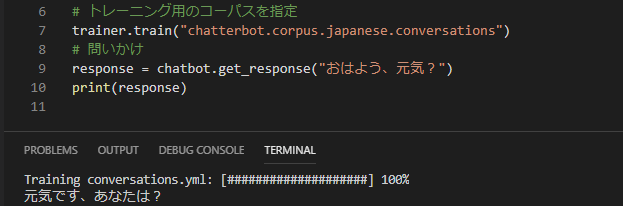
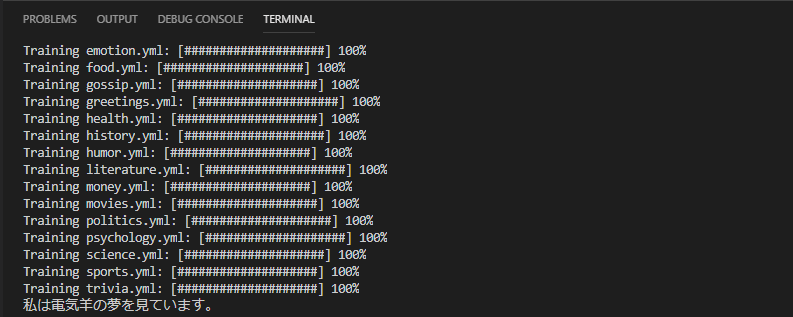
日本語のトレーニングコーパスを指定して「おはよう、元気?」と問いかけてみます。
from chatterbot import ChatBot
from chatterbot.trainers import ChatterBotCorpusTrainer

chatbot = ChatBot("automaton")
trainer = ChatterBotCorpusTrainer(chatbot)
# トレーニング用のコーパスを指定
trainer.train("chatterbot.corpus.japanese.conversations")
# 問いかけ
response = chatbot.get_response("おはよう、元気?")
print(response)
ファイルを実行すると「おはよう、元気?」に対応する言葉が返ってきます。
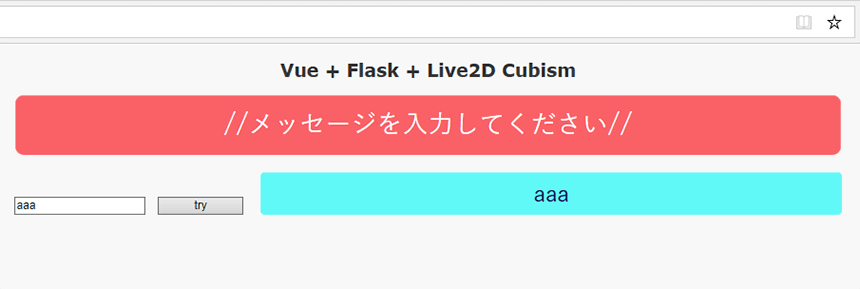
3. VueでUIを作成する
Vue.jsでテキストを入力する場所や、返答を表示する場所を作成します。
<div id="message_window">
  <p id="ans">[[ answer ]]</p>
</div>
<div id="input">
  <div class="inputA">
    <input v-model="message">
    <button @click="getAnswer" id="btn">try</button>
  </div>
  <div class="message_container">
    <p id="mes">[[ message ]]</p>
  </div>
</div>
4. テキストの受け渡しを処理する
Vueのinput要素に入力されたテキストをchatterbotに渡して、返事を受け取ります。
<script>
const talk = new Vue({
  el: "#exa",
  delimiters: ["[[", "]]"],
  data: {
    message: '',
    answer: '//メッセージを入力してください//'
  },
  methods: {
    update_answer: function(str) {
      this.answer = str;
    },
    getAnswer:function() {
      const src = this.message;
      callback = this.update_answer;
      fetch('http://localhost:5000/chatCubism', {
        method: 'POST',
        headers: {
          'Content-Type': 'application/json',
        },
        body: JSON.stringify(src),
      }).then(function(res){
         return res.json();
      }).then(function(src) {
         callback(src.ans);     //chatterbotからの返事
         const count = 0;
         const countup = function() {
           callback('');
         }
         setTimeout(countup, 7000);
      }).catch(function(error) {
         console.log(error)
      })
   }}
})
</script>
5. chatterbotの処理
2.で行った動作確認と同じ流れでVueから渡されたテキストを使用します。
コーパスを(“chatterbot.corpus.japanese”)とすると、日本語の全てのカテゴリを指定できます。
def answer(src):
    chatbot = ChatBot("automaton")
    trainer = ChatterBotCorpusTrainer(chatbot)
    trainer.train("chatterbot.corpus.japanese.botprofile")
    response = chatbot.get_response(src)
    return response
chatterbotが生成した返答をVueに返します。
@app.route('/chatCubism', methods = ['GET', 'POST'])
def chatCubism():
    src = request.json
    if request.method == 'POST':
        responce = answer(src)
        ans = str(responce)
        return jsonify({'ans': ans})
    elif request.method == 'GET':
        return render_template('chatCubism.html')
6. CubismWebの画面を表示
以前の記事(アヤメの分類)と同じ手順でCubismWebの画面を設置します。

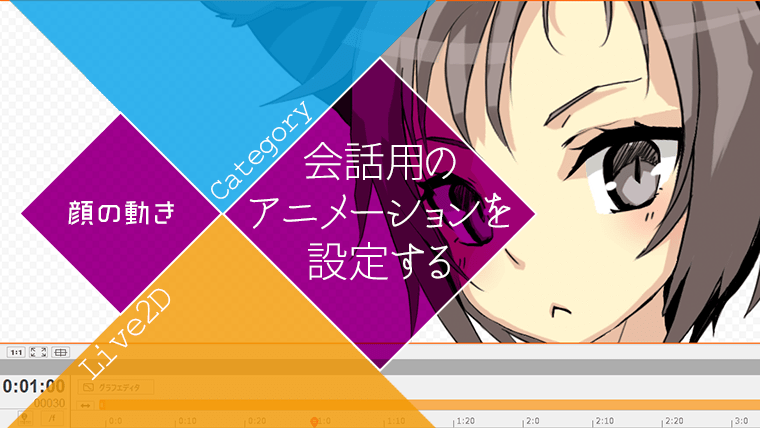
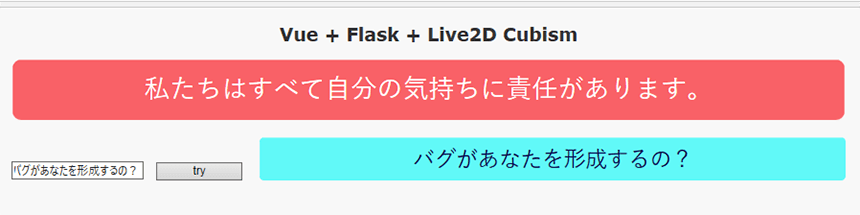
7. 会話の内容に合わせてCubismWebのモデルを更新
今回は入力したテキストに「?」が含まれているか、返答する文章が長いか短いかを参照して、再生するモーションを切り替えることにしました。
用意したモーションは下記の4種類です。
モーションA:入力したテキストに「?」が含まれている、返事の長さが11文字以上
モーションB:入力したテキストに「?」が含まれている、返事の長さが10文字以下
モーションC:入力したテキストに「?」が含まれていない、返事の長さが11文字以上
モーションD:入力したテキストに「?」が含まれていない、返事の長さが10文字以下
window.onload = () => {
  let motionNum = 0;
  const getbtn = document.getElementById("btn");
  getbtn.onclick = () => {
  setTimeout( () => {
    const getmes = document.getElementById("mes");
    const getans = document.getElementById("ans");
    if (getmes.textContent.indexOf('初回読み込み') != -1) {
      motionNum = 0;
    } else if (getmes.textContent.indexOf('?') != -1) {
      if (getans.textContent.length > 10) {
        motionNum = 1;
      } else if (getans.textContent.length <= 10) {
        motionNum = 2;
      }
    } else {
      if (getans.textContent.length > 10) {
        motionNum = 3;
      } else if (getans.textContent.length <= 10) {
        motionNum = 4;
      }
    }
    this.onUpdate = () => {

    //onUpdateの中身と同じ//

    if (motionNum == 0) {      //待機時のモーションを再生
        return;
    }
    for (let i = 0; i < this._models.getSize(); i++) {
    if (motionNum == 1) {
        this._models.at(i).startMotion(LAppDefine.MotionGroupAdd, 1, LAppDefine.PriorityNormal);
    } else if (motionNum == 2) {
        this._models.at(i).startMotion(LAppDefine.MotionGroupAdd, 2, LAppDefine.PriorityNormal);
    } else if (motionNum == 3) {
        this._models.at(i).startMotion(LAppDefine.MotionGroupAdd, 3, LAppDefine.PriorityNormal);
    } else if (motionNum == 4) {
        this._models.at(i).startMotion(LAppDefine.MotionGroupAdd, 4, LAppDefine.PriorityNormal);
      }
    }
    motionNum = 0;    //一回モーションを再生したら、待機時のモーションに移行する
    }
  },2000);    //メッセージが表示されるまで少し時間がかかるので、その分処理を遅らせる
  }
}
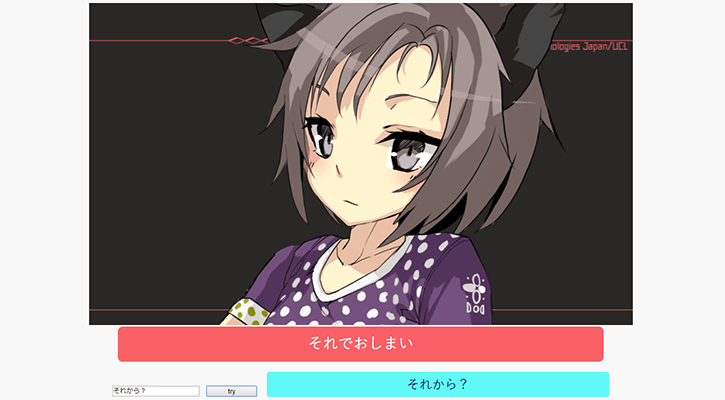
キャラクタが表示されるだけで印象がだいぶ変わりますね。